How to Install Facebook Messenger on your Real Estate Website
Introduction
The Facebook Messenger chat plugin is a great way to connect with your customers in real-time as they look at listings on your website. This guide will show you how to install the Facebook Messenger chat plugin onto your website.
Step 1
Go to business.facebook.com and log in with your Facebook account
Step 2
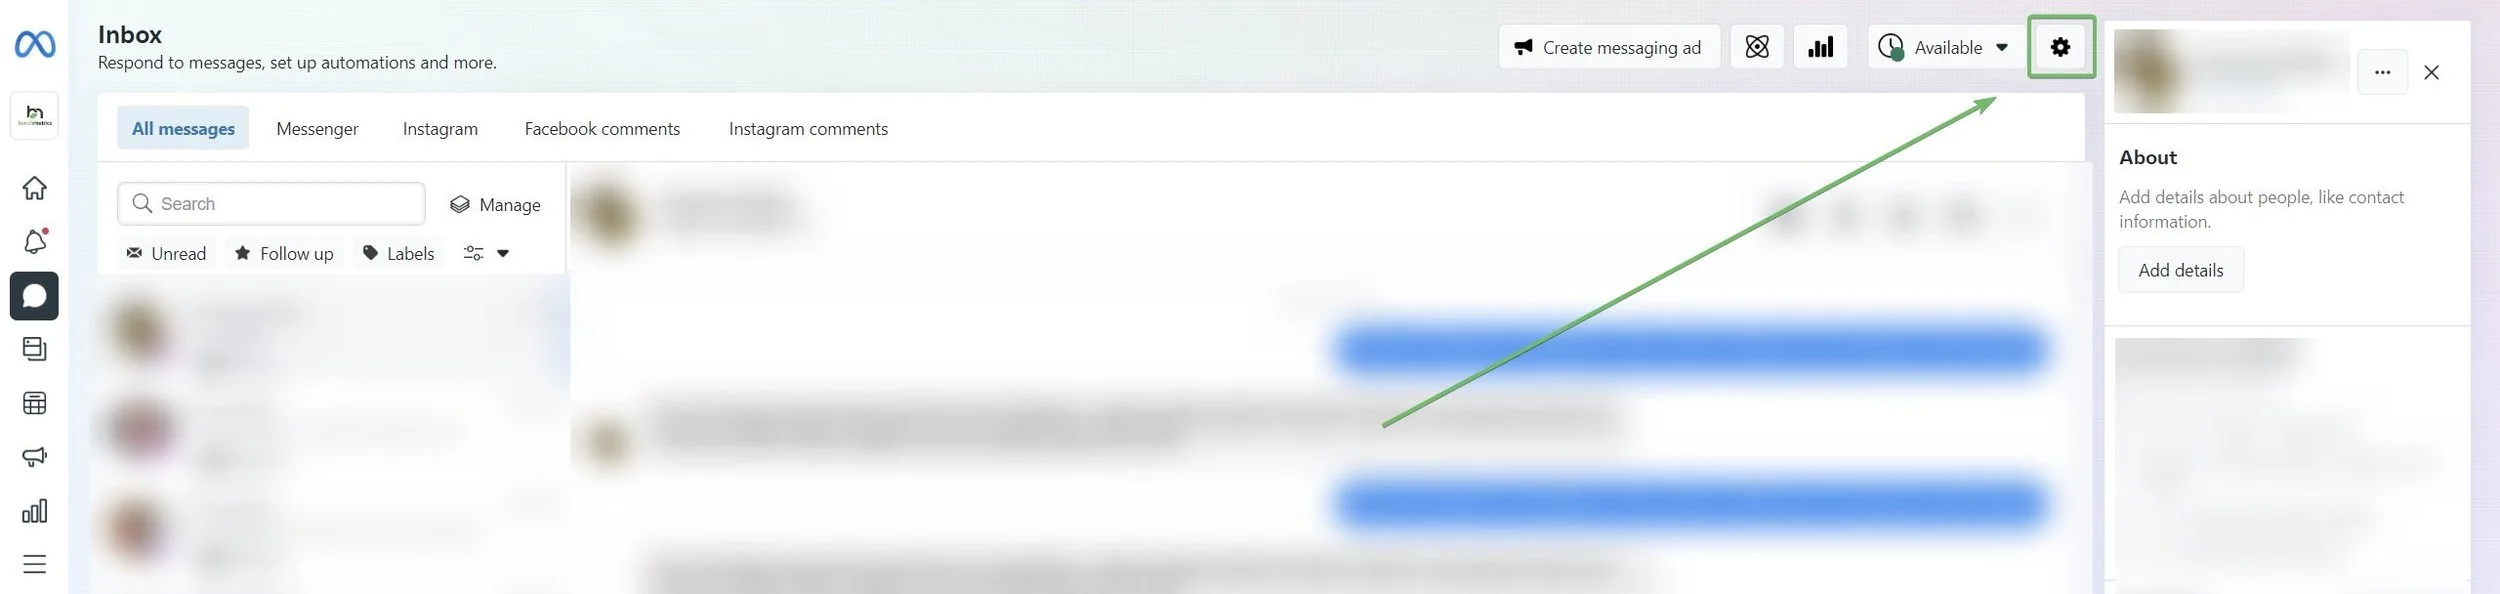
Click on “Inbox” on the left

Step 3
Click on the gear icon in the top-right corner labeled “Settings”
Step 4
Click on “Chat Plugin” to view the chat plugin settings

Step 5
Click “Set Up“ on the top

Step 6
Choose the “Standard” option

Step 7
Choose the language you want the chat plugin to use, and click “Save & continue”

Step 8
Add the domain (website URL) that you will use the chat plugin on.
(the easiest way to do this is to go to the website and copy the URL on the top of your browser and paste it into the input)
You can also “Add Domains” if you want to use your chat plugin on multiple websites.


click “Save & continue” to continue
Important: Make sure to include the “ https:// ” in your URL
Step 9
Click “Copy Code”.
(This is the code that you will need to install on your website)

Step 10
Go to my.hub21.ca and log in with your Google account
Then click on “My Website“ to go to your website dashboard

Step 11
In your website dashboard, hover over the “Settings” option and click “Script Tag Settings”

Step 12
Paste the code on a new line in the “Script Tag Settings” textbox, and click “Update”
Note: If there is already code/text in the textbox, please don’t delete it. Instead, just paste the code on a new line in the textbox like in the image below.
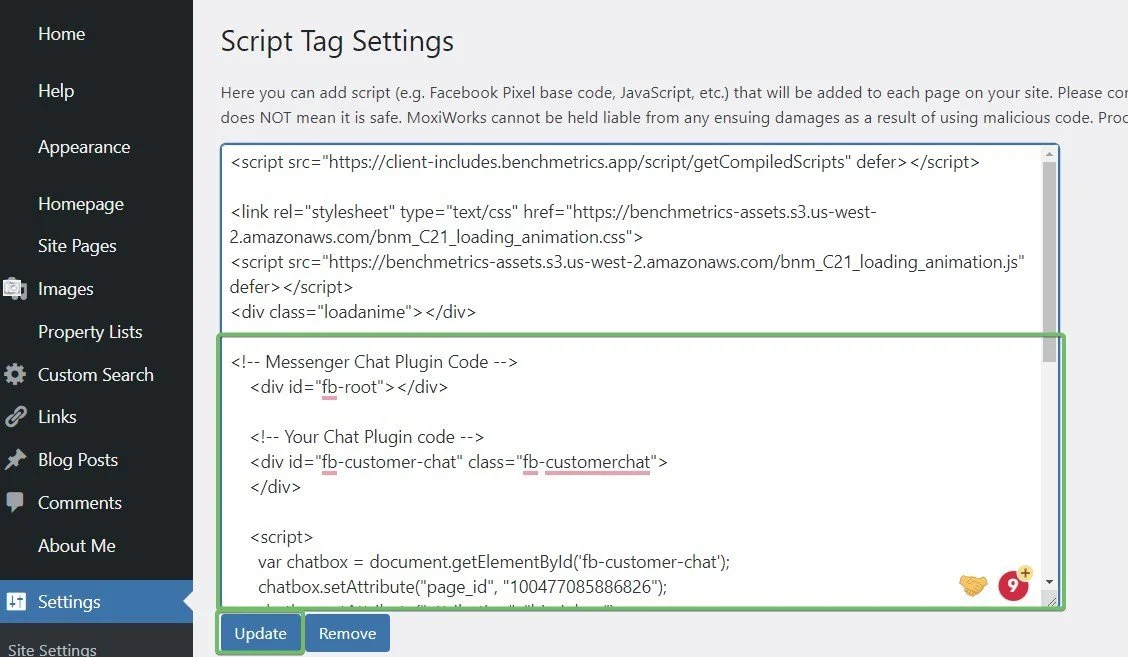
Important: Make sure to click the “Update“ button when you’re done to save your changes
You’re done!
The Facebook Messenger chat plugin should now be installed on your website. You can test it by going to your website and waiting a few seconds. the chat widget should show up in the bottom right.
Customize Your Chat Plugin (Optional)
There are 2 extra options that we recommend for your chat plugin
1. Turn Guest Mode Off
Guest Mode means anyone visiting your website can chat with you without logging into their Facebook account. So if you don’t respond in a couple of minutes, they’ll leave your website and you’ll have no way of contacting them again.
Removing the guest option means they’ll need to log into their Facebook account to chat with you. Which will reduce spam and allow you to reach out through the Messenger app later on!
How to Turn Off Guest Mode
Go to your chat plugin settings (seen in step 4), and click “Customize your Chat Plugin“. Turn off “Guest Chat”, and click Publish on the bottom right to save your changes.

2. Change the Chat Plugin Colors
You can change the color of the buttons on your chat widget to anything you want! This helps the chat plugin compliment your brand and makes your chat plugin look unique.
How to Change the Chat Plugin Colors
Go to your chat plugin settings (seen in step 4), and click “Customize your Chat Plugin“. Then click the toggle that says “Choose a preset option that complements your brand.”
Choose the color you want and click Publish on the bottom right to save your changes.
